Raspberry Pi Setup
During this course, we will be using a Raspberry Pi 4B as our main computer. This section will walk you through the steps to get your Raspberry Pi up and running.
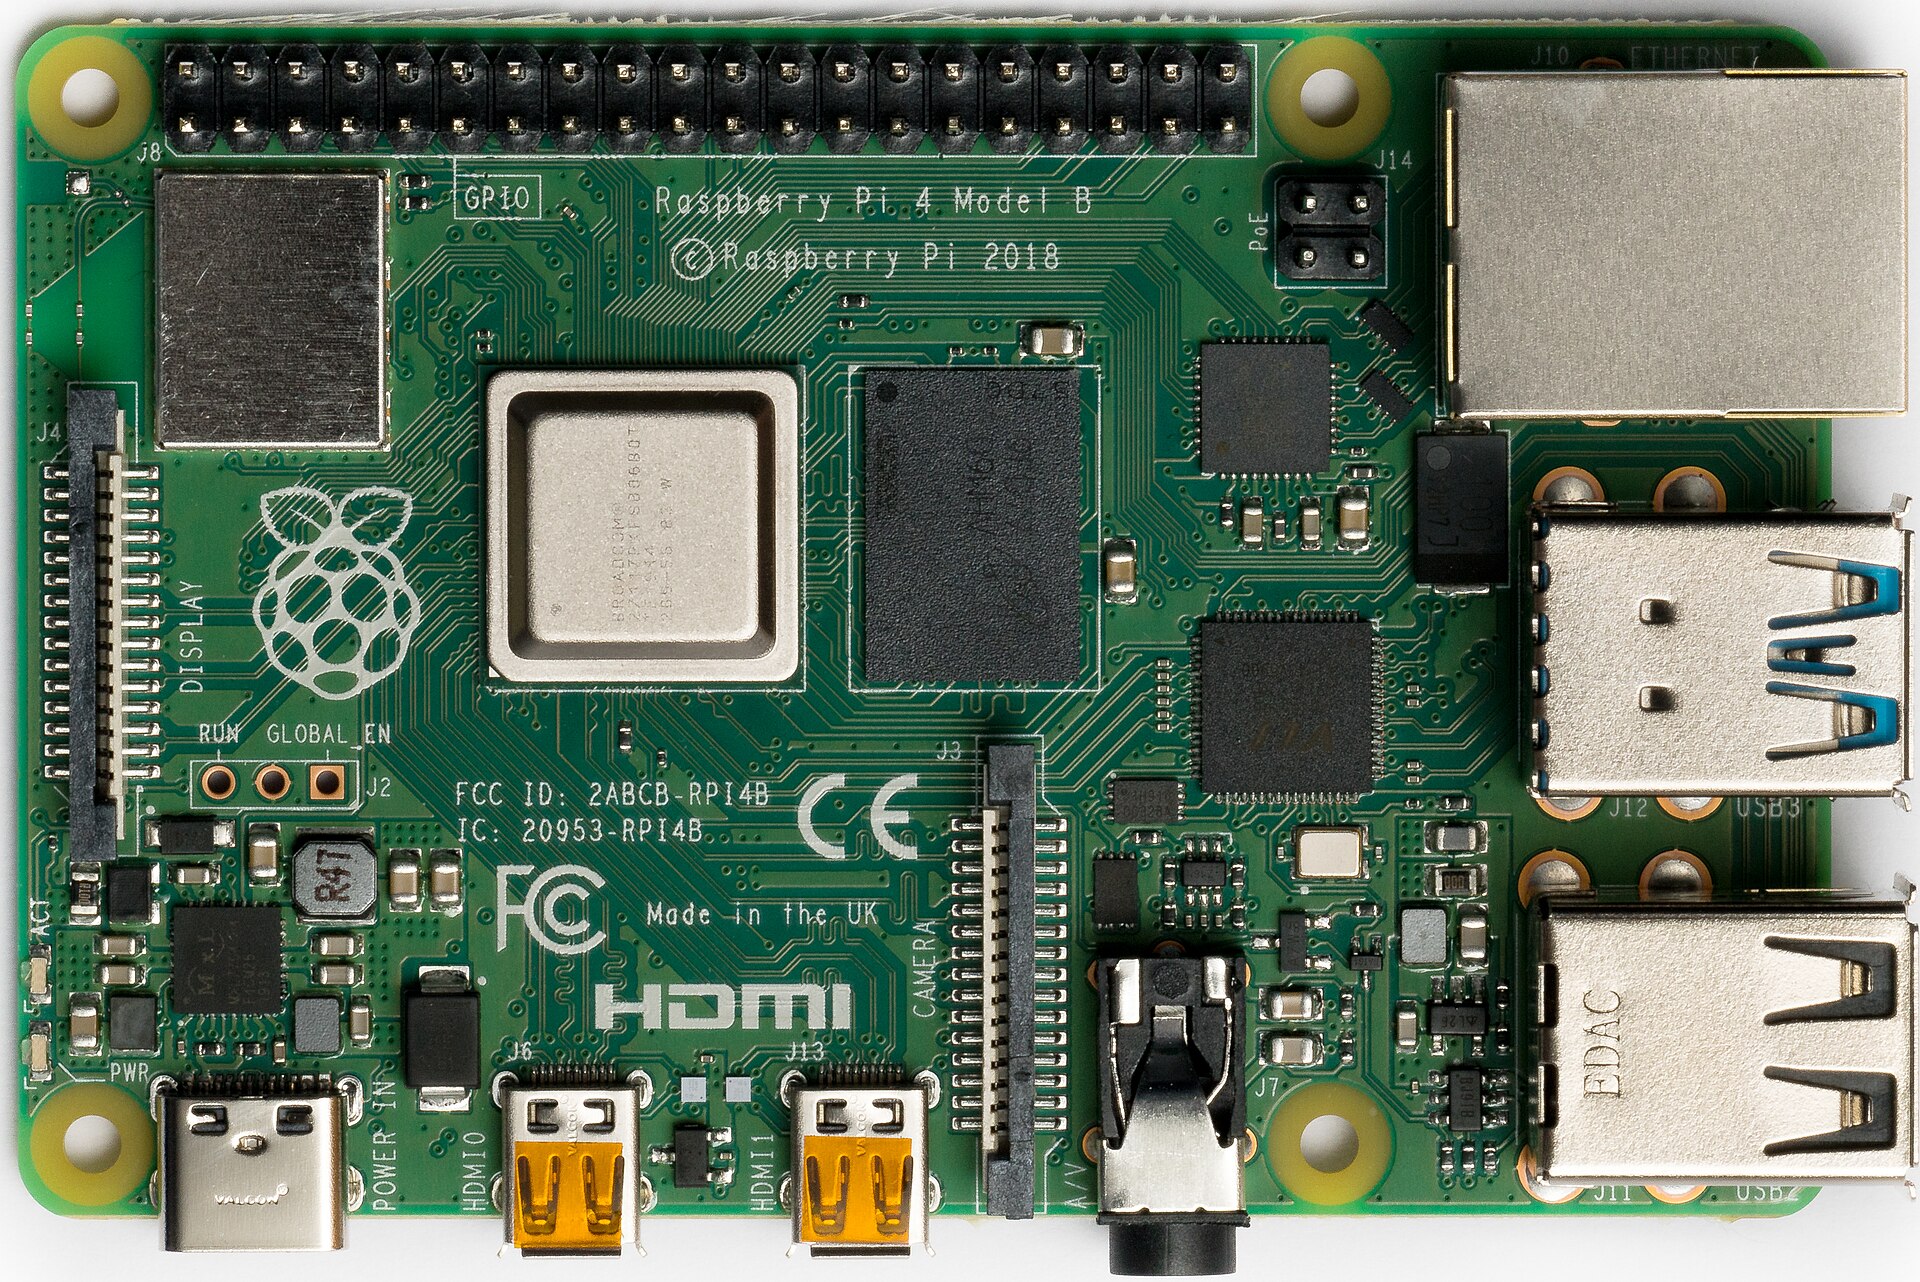
The Raspberry Pi is a small, single-board computer that can be used for a variety of projects. It is a great tool for learning about computers and programming, and it is also a great tool for building projects.
What you will need
- Raspberry Pi 4 (provided by the course)
- a microSD card (provided by the course)
- a USB-C cable (provided by the course)
- a computer with a USB port.
Setting up the Raspberry Pi
The RPi has a microSD card slot on the bottom. Insert the microSD card into the slot, and connect the RPi to your computer using the USB-C cable. The RPi will power on automatically.
If you are using a Windows computer, you may need to install a driver for the RPi. You can download the driver here.
- Download and extract the zip file.
- Open
Device Manageron your computer and locateCOM & LPT ports. - Connect the RPi to your computer and locate the new device (it should be called
COM PORT ...). - Right-click on the device and select
Update Driver Software. - Browse to the folder where you extracted the zip file.
- Install the driver.
Check that the driver was installed by opening a terminal and running the following command:
ping backseat.local
Connecting to the Raspberry Pi
Once the RPi is powered on, you can connect to it using SSH. We will be using Visual Studio Code to connect to the RPi.
- Open Visual Studio Code.
- Install the Remote - SSH extension.
- Click on the
Remote Explorericon in the left sidebar. - Select on the
Remotes (Tunnels/SSH)from the dropdown. - Click on the
+icon next toSSH. - Enter the following command in the input field:
ssh blue@backseat.local
The default password is iamblue.
You might be prompted to select a config file.
If so, select ~/.ssh/config or C:\Users\<username>\.ssh\config.
If you are asked to accept the host key, type yes and press Enter.
If you are asked the operating system of the remote host, select Linux.
Once connected, you should see a terminal window in Visual Studio Code (bottom). You can now run commands on the RPi.
For example, you can now run the following command to check the IP address of the RPi:
hostname -I
Creating a new user
The default user on the RPi is blue.
We will be using a new user for you for this course.
- Run the following command to create a new user:
sudo adduser <username>
- Enter a password for the new user.
- Enter the password again to confirm.
- Enter a full name for the new user.
- Press
Enterto skip the rest of the prompts.
Setting up the new user
- Run the following command to add the new user to the
sudogroup:
sudo usermod -aG sudo <username>
- Run the following command to switch to the new user:
su <username>
- Run the following command to create a new SSH key:
ssh-keygen -t ed25519 -C "<username>@backseat.local"
- Press
Enterto save the key in the default location. - Press
Enterto skip the passphrase prompt.
Connecting to the Raspberry Pi using the new user
Similar to the previous section, you can now connect to the RPi using the new user.
- Click on the
Remote Explorericon in the left sidebar. - Click on the
SSH Targetsicon at the top of the sidebar. - Click on the
+icon at the top of the sidebar. - Enter the following command in the input field:
ssh <username>@backseat.local
- Enter the password for the new user.
You are now connected to the RPi using the new user you just created.
Setting up the RPi for the course
For this course, we will be using a few tools that are not installed by default on the RPi. We will now install these tools.
ZSH
zsh is a Unix shell that can be used as an interactive login shell and as a
command interpreter for shell scripting. Zsh is an extended Bourne shell with a
large number of improvements, including some features of Bash, ksh, and tcsh.
We will be using zsh as our default shell in this course.
Install
sudo apt install zsh
Set as default shell
Set zsh as default shell:
chsh -s $(which zsh)
Restart shell
Restart the shell:
exec zsh
Oh-My-Zsh
Oh-My-Zsh is an open source, community-driven framework for managing your zsh configuration (and it comes with a bunch of plugins and themes).
Install
sh -c "$(curl -fsSL https://raw.githubusercontent.com/ohmyzsh/ohmyzsh/master/tools/install.sh)"
.zshrc
The .zshrc file is a script that is executed each time a new zsh shell is
started. It is located in your home directory (~/.zshrc).
You can edit the .zshrc file with your favorite text editor.
We will be adding some configuration to the .zshrc file in the next sections.
Assigning the RPi a Static IP
By default, the interface between your Raspberry Pi and local machine will have dynamic IP addresses. To simplify future sections of the course, you'll assign a static IP address to the Raspberry Pi.
Raspberry Pi
Once connected to your Raspberry Pi, open the /etc/netplan/50-cloud-init.yaml file using the in-terminal text editor.
This file is responsible for defining network connections like the usb0 interface to your local machine and the wlan0 wifi interface.
sudo nano /etc/netplan/50-cloud-init.yaml
After the file is open, modify the usb0 interface to look like this:
        usb0:
            dhcp4: false
            dhcp6: false
            addresses:
            - 192.168.3.2/24
            match:
                name: usb0
            set-name: usb0
Once the usb0 interface matches the above code, press CTRL + X to close the file.
When you are prompted if you want to save the modified buffer, enter y.
Then, press enter an additional time to save the file using its current path and name.
Apply the changes to the netplan in the same terminal:
sudo netplan apply
Local Machine
Now, you must also update the interface on your local machine.
If you are using Windows and WSL, then for this section only, follow the Windows tab rather than the Ubuntu tab.
- macOS
- Windows
- Ubuntu
Open System Settings > Network.
Select the network interface for the Raspberry Pi (likely called RNDIS/Ethernet Gadget).
If you are unsure which interface this is, disconnect the RPi from your laptop. This will remove the interface from the list. Reconnect the RPi to your laptop and the interface should appear again.
With the correct interface selected, click Details....
Under the TCP/IP tab, set the Configure IPv4 dropdown to Manually.
Enter the following
IPv4 Address:192.168.3.1Subnet Mask:255.255.255.0
Click OK to save the settings.
Open Network Connections. Find the network interface for the Raspberry Pi.
This interface should appear as USB Ethernet/RNDIS Gadget.
If you are unsure which interface this is, disconnect the RPi from your laptop. This will remove the interface from the list. Reconnect the RPi to your laptop and the interface should appear again.
Right click on the interface and choose Properties.
Select Internal Protocol Version 4 (TCP/IPv4) and click Properties.
Choose Use the following IP address and enter the following:
IPv4 Address:192.168.3.1Subnet Mask:255.255.255.0
Click OK, then close to apply the settings.
Open Settings -> Network.
Select the interface connected to your Raspberry Pi.
If you are unsure which interface this is, disconnect the RPi from your laptop. This will remove the interface from the list. Reconnect the RPi to your laptop and the interface should appear again.
Click the settings gear icon next to the itnerface.
Go to the IPv4 tab and set the IPv4 Method to Manual.
Click Add and enter:
IPv4 Address:192.168.3.1Subnet Mask:255.255.255.0
Click Apply and reconnect the interface if needed.
Testing
Once these steps are complete, you should be able to run ping 192.168.3.1 from a terminal on the Raspberry Pi.
Make sure you always use the same USB port that the RPi was plugged in when you set the IP address, as that is the specific interface that is now setup. If you use another USB port, it will reset your interface settings.
When you are done using your Raspberry Pi, run sudo poweroff and wait for it to complete before unplugging your RPi.
If you skip this step, you may end up corrupting your RPi.