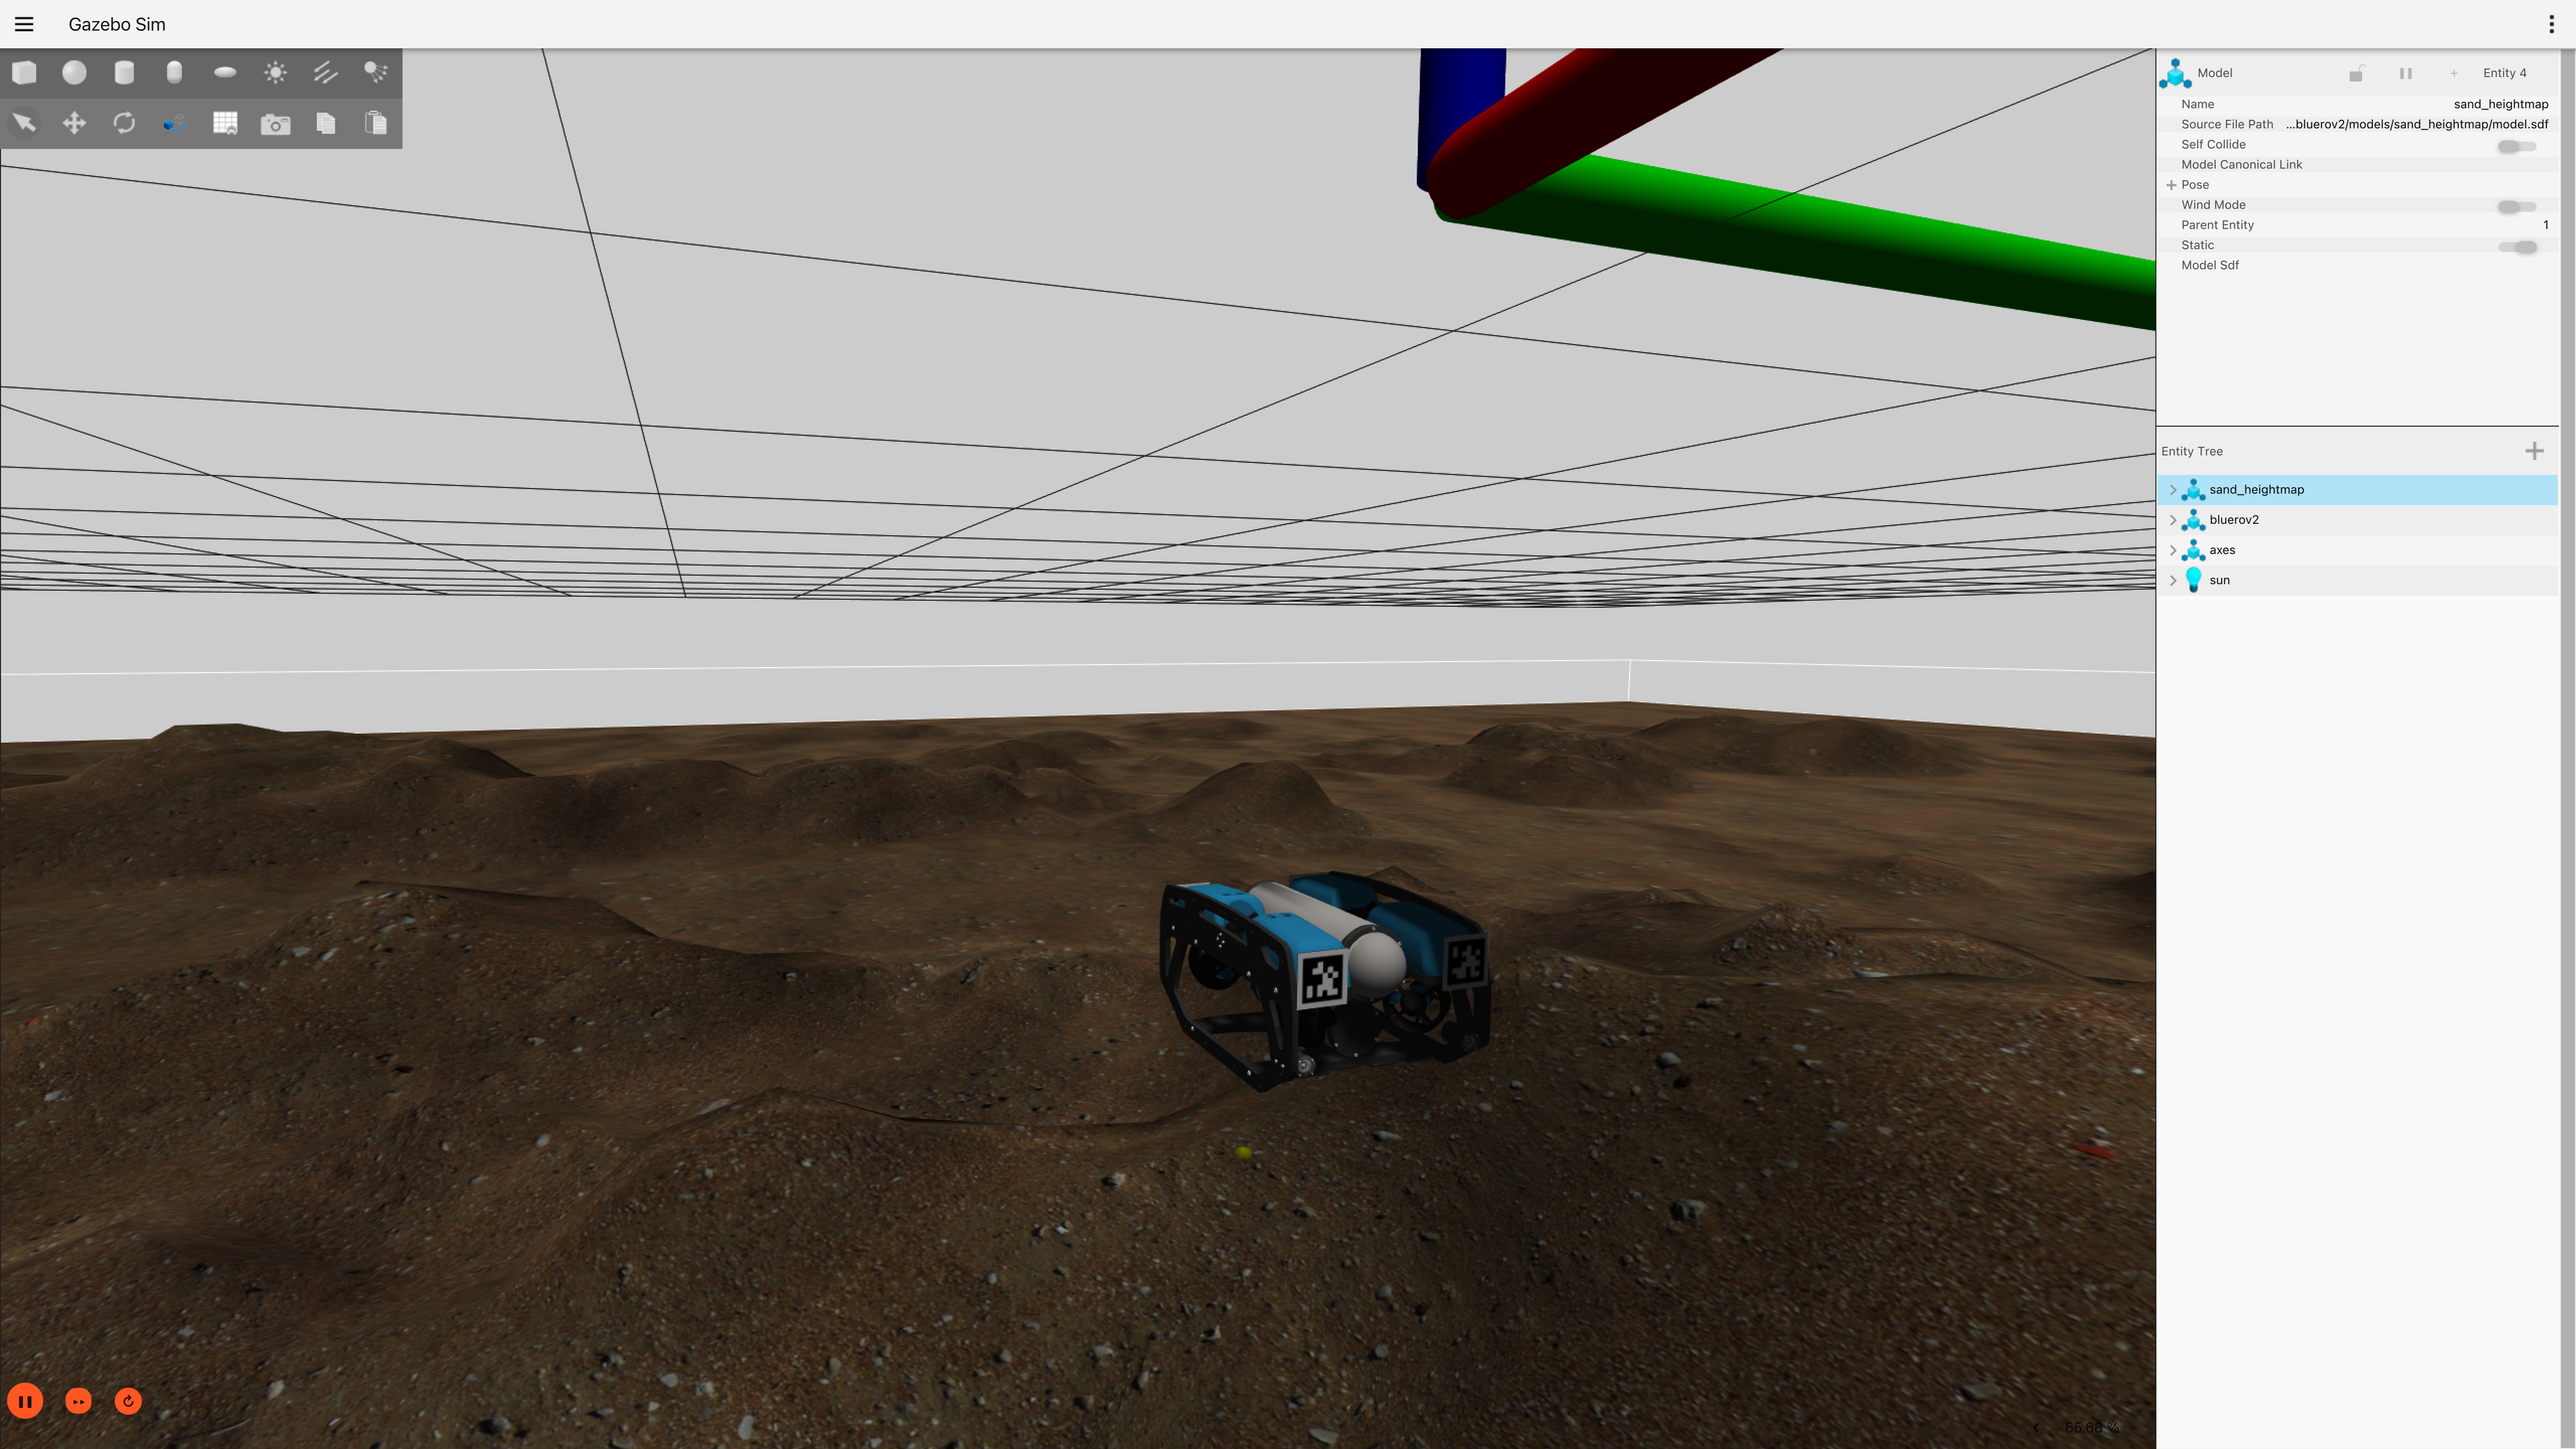
Gazebo
Gazebo is a set of open source tools for simulating robots in an environment. It is commonly used in robotics research and education.
We will be using Gazebo to simulate the robot (BlueROV2) in a virtual (pool) environment.
We will be using Gazebo Garden, the latest version of Gazebo.
Installation
The documentation for installing Gazebo can be found here. See "Binary Installation" for instructions on installing Gazebo on your operating system. Below is a summary of the steps.
Only Ubuntu is fully supported by Gazebo. macOS is partially supported. In Windows, the simulation will run, but the GUI will not work.
- macOS
- Ubuntu
First we need to install ruby from Homebrew:
brew install ruby
Then we have to add the Homebrew Ruby to our path:
echo 'export PATH="$(brew --prefix)/opt/ruby/bin:$PATH"' >> ~/.zshrc
Now, we add the osrf/simulation tap:
brew tap osrf/simulation
For Apple Silicon-based Macs, we need to modify the Formulae before installing Gazebo.
cd /opt/homebrew/Library/Taps/osrf/homebrew-simulation/Formula
sed -i '' 's|cmake_args << "-DCMAKE_INSTALL_RPATH=#{rpath}"|cmake_args << "-DCMAKE_INSTALL_RPATH=#{rpath};/opt/homebrew/lib"|' *.rb
Next we install Gazebo:
brew install gz-garden
First let's update and install some dependencies:
sudo apt-get update
sudo apt-get install lsb-release wget gnupg
Next we install the Gazebo package repository:
sudo wget https://packages.osrfoundation.org/gazebo.gpg -O /usr/share/keyrings/pkgs-osrf-archive-keyring.gpg
echo "deb [arch=$(dpkg --print-architecture) signed-by=/usr/share/keyrings/pkgs-osrf-archive-keyring.gpg] http://packages.osrfoundation.org/gazebo/ubuntu-stable $(lsb_release -cs) main" | sudo tee /etc/apt/sources.list.d/gazebo-stable.list > /dev/null
Finally, we install Gazebo:
sudo apt-get update
sudo apt-get install gz-garden
Test the installation
To test your installation, run the following command:
- macOS
- Ubuntu
In one terminal, run:
gz sim -v4 -s shapes.sdf
In another terminal, run:
gz sim -v4 -g
In one terminal, run:
gz sim -v4 shapes.sdf
You should see a window pop up with some 3D objects in it.
Our custom simulation
We built a custom simulation for the BlueROV2. It lives in this repository: gazebo_bluerov2.
Clone the repository into your workspace:
git clone https://github.com/blksail-edu/gazebo_bluerov2
Build the simulation:
cd gazebo_bluerov2
./build.sh
Start the example simulation:
./launch.sh
Sometimes, the simulation will not quit properly. If this happens, you will need to kill the process manually.
pkill -9 gz

Controlling the robot
Try controlling the depth of robot now with depth_control.py you previously wrote.
First, in the backseat, start the SITL:
cd PATH_TO_ARDUSUB
Tools/autotest/sim_vehicle.py -L RATBeach -v ArduSub -f vectored --model=JSON --out=udp:SIMULATION_COMPUTER_IP:14550 --console
Run your depth_control.py script in another terminal:
python3 depth_control.py
You should see the robot dive to the desired depth.